


Data annotation is a critical step in the development of machine learning models. However, manual annotation can be time-consuming specifically for big datasets. What if you could automate this process and therefore make it faster? And with any model?
In CVAT.ai it is possible with CVAT CLI.
But before diving into the technical details, let’s set up the basic understanding.
The CVAT CLI leverages Software Development Kit (CVAT SDK) to auto-annotate, or pre-annotate your dataset, allowing you to focus more on model development and less on data preparation.
The SDK enables you to incorporate functionalities from a variety of machine learning libraries. Including torchvision, but you can use others. The SDK provides you with a range of options for automated annotation, also known as Auto-Annotation (AA) functions.
What are AA Functions?
Auto-Annotation, or AA, functions, are Python objects designed to perform specific annotation tasks. These functions translate your raw data into annotations.
A typical AA function generally includes the following components:
- Code to load the machine learning model.
- A specification outlining the types of annotations that can be generated.
- Code to transform CVAT data into a format the machine learning model understands.
- Code to run the model to obtain predictions.
- Code to convert predicted annotations back into a CVAT-friendly format.
The CVAT SDK is built on a layered architecture comprising several parts:
- The Interface: Defines the protocol that any AA function must implement.
- The Driver: Manages the execution of AA functions and performs the actual annotation on the CVAT dataset.
- Predefined AA Functions: Includes a set of predefined functions.
This is just a glimpse; the following article will walk you through the steps and specifics to get you started on your automated annotation journey.
There are two ways to auto annotate using the CVAT CLI:
- Annotating with predefined Auto-Annotation Functions in CVAT SDK.
- Annotating with your own Auto-Annotation Function
Before starting the annotation
Before starting the annotation process let’s set up a task in CVAT Cloud. In this case it is a simple dataset with animals and labels “cat” and “dog”.
For both cases, first we need to create an environment where we could run the function. Let's begin by installing a few Python packages on the local machine. Please note that commands might vary for different operating systems. For the sake of this article, all commands that we use are for Windows.
Run the following command:
python -m venv venv
When the virtual environment is ready, you will need to activate it:
.\venv\Scripts\Activate.ps1
The next step is to install the CVAT.ai CLI. Execute the command and wait for the installation to complete.
pip install cvat-sdk[pytorch] cvat-cli
To allow CVAT CLI access to CVAT, you'll need to store your CVAT password in the PASS environment variable. We'll utilize the Read-Host command here to prevent the password from being displayed.
$ENV:PASS = Read-Host -MaskInput
Enter your CVAT password and hit Enter. Now you are ready to run the automatic annotation.
Easy Guide to Using Predefined Auto-Annotation Functions in CVAT SDK
You can auto-annotate with its two functions that utilize models from the torchvision library.
The CVAT SDK includes two predefined AA functions. Each function is implemented as a module to allow usage through the CLI auto-annotate command.
After you’ve installed Python and environment is ready, run an Automatic Annotation from CLI we will use the following command:
cvat-cli auto-annotate "<task ID>" --function-module cvat_sdk.auto_annotation.functions.torchvision_detection \
      -p model_name=str:"<model name>" ...
Let’s come back to the task that was created earlier. To run the function you will need a host, task ID, and username. For the model name check the torchvision documentation. In the example below we’ll use fcos_resnet50_fpn.
The score_thresh=float:0.7 parameter is used to specify the threshold for object detection confidence scores. In this case, it's setting the confidence score threshold to 0.7, meaning that only object detections with a confidence score greater than or equal to 0.7 will be included in the results of the auto-annotation process. Objects with lower confidence scores will be filtered out.

With these elements added to the command, you will get the following result:
cvat-cli --server-host app.cvat.ai --auth mk auto-annotate 274373 --function-module cvat_sdk.autocvat_sdk.auto_annotation.functions.torchvision_detection -p model_name=str:fcos_resnet50_fpn -p score_thresh=float:0.7 --allow-unmatched-labels
Where app.cvat.ai is the host, 274373 is the task ID, and mk is the username.
By default, the CLI will check that every label that the function can output exists in the task. In this case, our task only has "cat" and "dog" labels, while the function can output 80 labels in total, --allow-unmatched-labels tells the CLI to ignore all labels that don't exist in the task.
It's a good practice to start with a clean state. So if there are any annotations that were done before, you can add –-clear-existing option the command, that will clear all existing annotations.
The annotation will start. Wait until it’s over, then go back to the task. You might need to refresh the page for annotations to be visible.

It's time to check the quality. Go through the dataset to ensure that the annotations meet your requirements.
How to Auto-Annotate Your Dataset with Model of Choice and the Command Line Interface
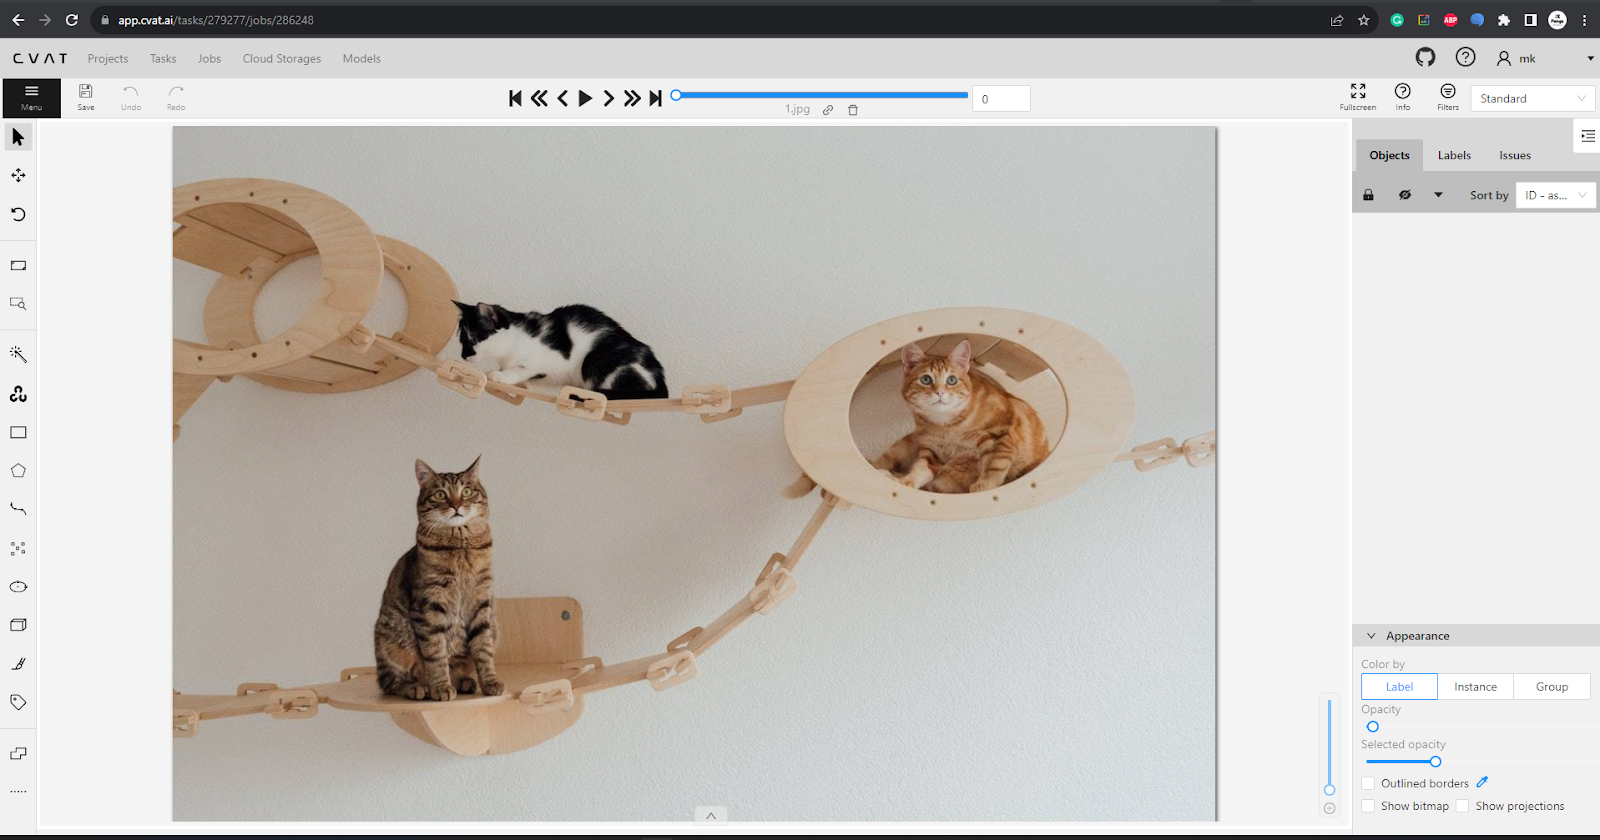
The second method is when you use the auto-annotation feature not with predefined functions but with any model of your choice. In this guide, we'll walk through using YOLO v8 for auto-annotation via the Command Line Interface (CLI). Here is the task that will be annotated:
When the environment is ready, you can run a model function. Something like this:
import PIL.Image
from ultralytics import YOLO
import cvat_sdk.auto_annotation as cvataa
import cvat_sdk.models as models
_model = YOLO("yolov8n.pt")
spec = cvataa.DetectionFunctionSpec(
labels=[cvataa.label_spec(name, id) for id, name in _model.names.items()],
)
def _yolo_to_cvat(results):
for result in results:
for box, label in zip(result.boxes.xyxy, result.boxes.cls):
yield cvataa.rectangle(int(label.item()), [p.item() for p in box])
def detect(context, image):
return list(_yolo_to_cvat(_model.predict(source=image, verbose=False)))
open_in_new MORE content_copy COPY
@cvataicode at thiscodeWorks.com
To move to the next step, you'll need to install the Ultralytics library, which houses the YOLO models. To do it, execute the following command. Wait for the installation to finish.
pip install ultralytics
It's a good practice to start with a clean slate. For this purpose, the –-clear-existing option is added to the command, which will clear all existing annotations.
Note that you’ll need to specify the path to the file implementing the function.
You can also exclude labels that you don't need.
Here’s how you'd run the command in the CLI:
cvat-cli --server-host app.cvat.ai --auth mk auto-annotate 274373 --function-file .\yolo8.py --allow-unmatched-labels –-clear-existing
Press Enter and wait for the auto-annotation by YOLO8 to be accomplished.
Once the auto-annotation is complete, it's time to check the quality. Go through the dataset to ensure that the annotations meet your requirements.
There you have it! Now you know how to use any model, including YOLO v8, to auto-annotate your dataset via the CLI. Using auto-annotate can save you a tremendous amount of time and help you achieve consistent annotation across your datasets.
If you have more questions, please see Auto Annotation documentation.
And check the video to see the full process:
Remember to like, share, and subscribe for more updates!
Happy Annotating!
Not a CVAT.ai user? Click through and sign up here
Do not want to miss updates and news? Have any questions? Join our community:


.svg)


