


Data annotation is key to training machine learning models, especially in computer vision. As the CVAT.ai team, we recommend using CVAT for annotation. However, once annotation is done, you'll need to export the data in a suitable format.
One of the most commonly requested formats is YOLOv8. While not directly supported by CVAT, there's a straightforward workaround that allows you to convert data from the COCO format (which CVAT does support) to YOLOv8, a format that supports polygons.
In this article, we’ll show how you can get the annotations needed from CVAT in a few simple steps and then convert them into YOLO8. For this, we’ll use another intermediate format, capable of representing the same annotations - COCO.
Let’s start with annotation, for this article we use a fraction of Cats and Dogs dataset with two classes: cats and dogs, we’ve selected 10 random images.
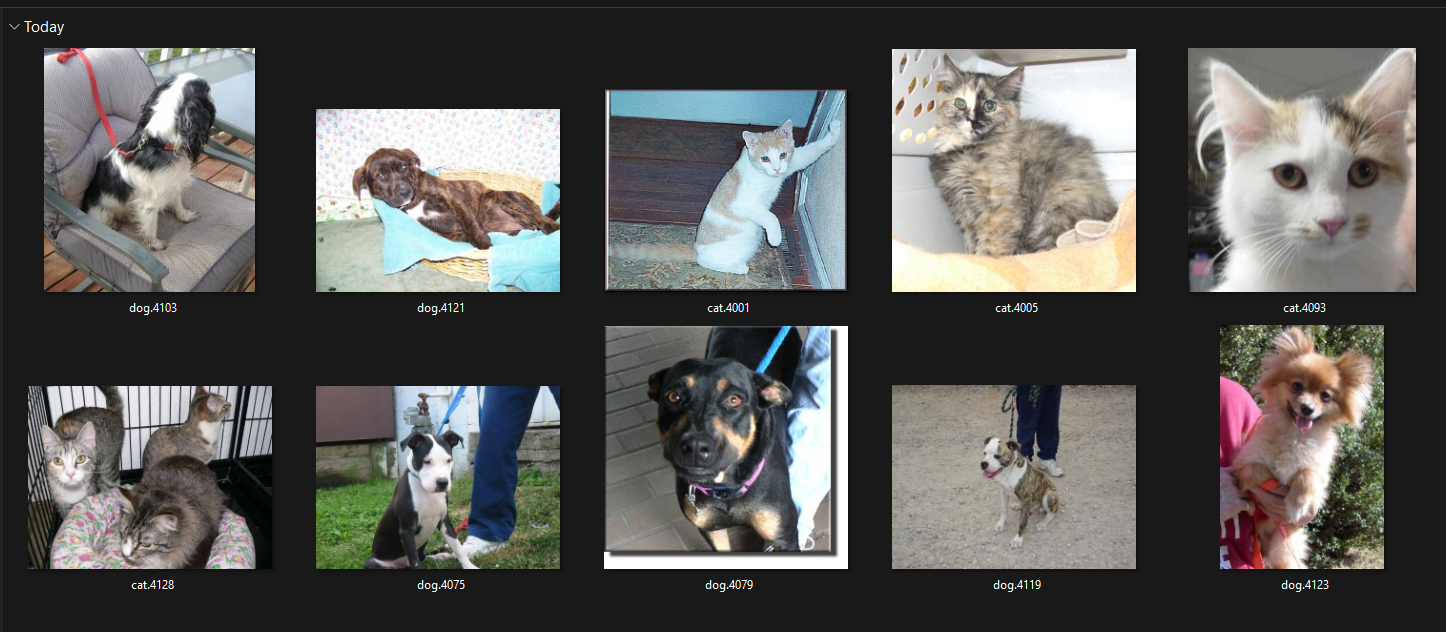
For the purpose of this article, we've annotated the dataset with polygons. You can do this manually or use automatic annotation if you're on the paid plan.
After annotation was done, we’ve exported the annotations in COCO format and named the resulting JSON file coco_annotations.json.
The annotations in our JSON file look like this:
 {
      "id": 9,
      "width": 359,
      "height": 269,
      "file_name": "dog.4121.jpg",
      "license": 0,
      "flickr_url": "",
      "coco_url": "",
      "date_captured": 0
    },
    {
      "id": 10,
      "width": 200,
      "height": 297,
      "file_name": "dog.4123.jpg",
      "license": 0,
      "flickr_url": "",
      "coco_url": "",
      "date_captured": 0
    }
  ],
  "annotations": [
    {
      "id": 1,
      "image_id": 1,
      "category_id": 1,
      "segmentation": [
        [
          479.0, 63.0, 471.0, 63.0, 463.0, 69.0, 460.0, 75.0, 460.0, 86.0,
          450.0, 101.0, 425.0, 110.0, 415.0, 116.0, 398.0, 120.0, 392.0, 120.0,
          390.0, 118.0, 389.0, 106.0, 386.0, 101.0, 385.0, 69.0, 381.0, 63.0,
          372.0, 66.0, 345.0, 86.0, 333.0, 87.0, 326.0, 90.0, 309.0, 90.0,
          295.0, 86.0, 286.0, 86.0, 283.0, 89.0, 283.0, 100.0, 289.0, 111.0,
          289.0, 116.0, 283.0, 123.0, 276.0, 143.0, 264.0, 159.0, 250.0, 172.0,
          223.0, 213.0, 206.0, 247.0, 192.0, 286.0, 186.0, 324.0, 191.0, 335.0,
          190.0, 353.0, 197.0, 362.0, 218.0, 370.0, 237.0, 374.0, 257.0, 375.0,
          277.0, 380.0, 293.0, 377.0, 296.0, 369.0, 292.0, 357.0, 307.0, 342.0,
          314.0, 331.0, 323.0, 308.0, 323.0, 286.0, 325.0, 284.0, 330.0, 288.0,
          333.0, 307.0, 337.0, 316.0, 342.0, 321.0, 355.0, 323.0, 360.0, 318.0,
          363.0, 309.0, 360.0, 277.0, 353.0, 262.0, 339.0, 250.0, 343.0, 235.0,
          354.0, 222.0, 364.0, 193.0, 372.0, 183.0, 392.0, 168.0, 409.0, 163.0,
          427.0, 152.0, 445.0, 135.0, 475.0, 112.0, 483.0, 87.0, 483.0, 70.0
        ]
      ],
To convert annotations from COCO to YOLOv8 format, we'll use the official COCO Dataset Format to YOLO Format tool provided by Ultralytics.
Follow these steps to achieve the result:
Let's get your COCO annotations organized just right. The snippet below shows the folder structure:
coco/
└── annotations/
    └── coco_annotations.json
Next up, you're going to create a .py file with the COCO snippet inside. Call it whatever feels right to you; we went with coco_to_yolo.py.
Any text editor will do the trick, but Visual Studio Code is a solid choice. Here's a peek at what your file should look like:
from ultralytics.data.converter import convert_coco
convert_coco(labels_dir='annotations', use_segments=True)
When your file is all set, place it right next to the COCO annotations folder. Your setup should look something like this:
coco/
└── annotations/
    └── coco_annotations.json
coco_to_yolo.py
Time to create a virtual environment! Here's how:
Open PowerShell, and head over to your project folder with running cd command:
cd path\to\your\project\directory
Once you're in, create a virtual environment by running the following command:
python -m venv venv
Get that environment going with (you might need to allow scripts in PowerShell):
.\venv\Scripts\activate
If the command above for some reason doesn’t work, try the following:
.\venv\Scripts\activate.ps1
You'll know it's ready when you see (venv) before your command prompt.
Now, let's install Ultralytics. Just type in:
pip install ultralytics
And wait; this part might take a little bit.
All set? Great! Now, just run:
python coco_to_yolo.py
And there you have it—done! Your converted annotations are now neatly organized in the coco_converted folder, located alongside the other files. Please note that the coco_annotations part might have a different name in your case if you named the exported .json file differently.
coco/
└── annotations/
    └── coco_annotations.json
coco_to_yolo.py
coco_converted/
├── images/
└── labels/
    └── coco_annotations/
        └── image1.txt
        └── image2.txt
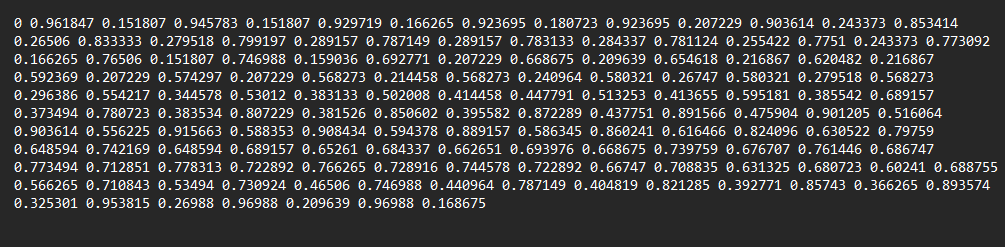
Inside this folder, you'll find a list of .txt files that have the same names as the images in the dataset.
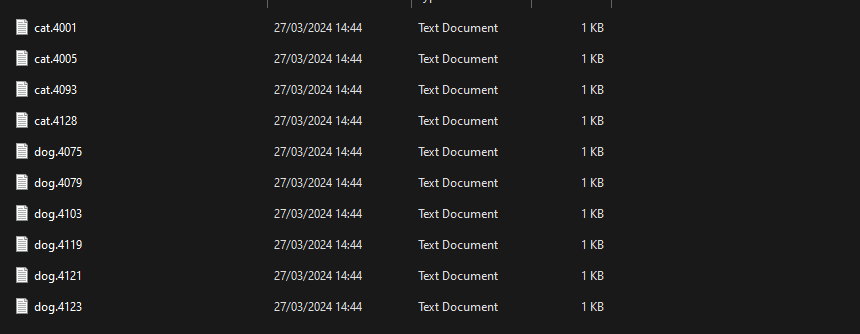
Each .txt file contains annotations in YOLO8 format.
Now that your data is in the YOLOv8 format, you're ready to use it in your models. This opens up exciting new possibilities and improves your machine learning projects. Keep an eye out for our next articles. We'll go deeper into how to use these converted annotations in your models effectively.
This is just the start of a journey toward more efficient, powerful, and flexible machine learning models.
And that’s it for today. Let us know what you think?
Happy annotating!
Not a CVAT.ai user? Click through and sign up here
Do not want to miss updates and news? Have any questions? Join our community:

